How To Explicitly Teach Phonics Rules
It’s no secret that research tells us we need to teach rules explicitly - but what exactly does that mean?
Today, we are going to break down exactly what “teaching rules explicitly” means as well as walk you through how you can use this approach in your lessons!
First things first -
What does “explicitly teaching phonics rules” mean?
We’re so glad you asked. When we talk about teaching “explicitly,” we mean teaching students exactly what the letter says, when we use it, and any other rules that are important to know when using this phonics pattern. This is important because research tells us that students with dyslexia struggle to learn implicitly, meaning they won’t pick up on patterns and make the connections/inferences necessary to learn these phonics patterns just by being exposed to them.
Explicit teaching, however, goes further than supporting the 20% percent of students with dyslexia.

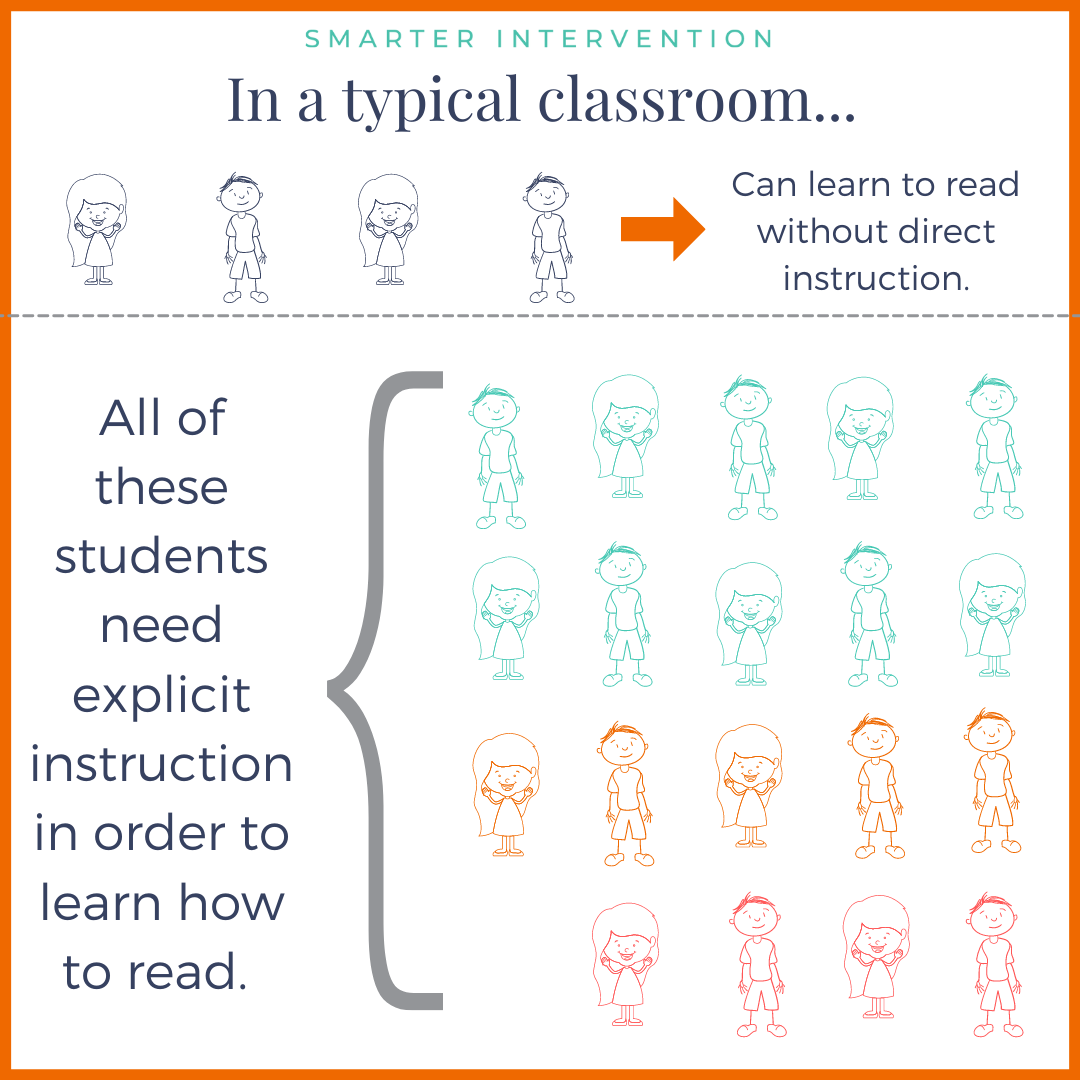
In a typical classroom, 15-20% of students will learn to read with no direct instruction. The remaining 80-85% however, require direct instruction AT A MINIMUM in order to learn to read effectively. This means that explicit instruction is necessary for the majority of the students in your class.
How do I explicitly teach phonics rules?
Explicit phonics instruction starts at the letter naming level, meaning that students can identify which letters are which. Then, it moves up through the sound-pattern recognition level where students learn to connect a sound to each letter.
It is important that we don’t conclude our explicit phonics instruction after teaching the alphabet but expand it to include other phonograms as well. Let’s break this down.
If we think about the letter ‘t,’ we know that it will say /t/. However, students must also recognize that when they see the letter ‘t’ right before an ‘h,’ this makes the digraph ‘th’ and it will say /th/, not /t/ /h/. Then, a ‘t’ next to a ‘ch’ will work together as a trigraph to say /ch/, and a ‘t’ next to an ‘ion’ will work together as the pattern ‘tion’ to say /shun/.

Explicitly teaching these sound-symbol relationships is critical for students to be able to read and spell correctly…
…as these patterns cannot be sounded out as individual pieces.
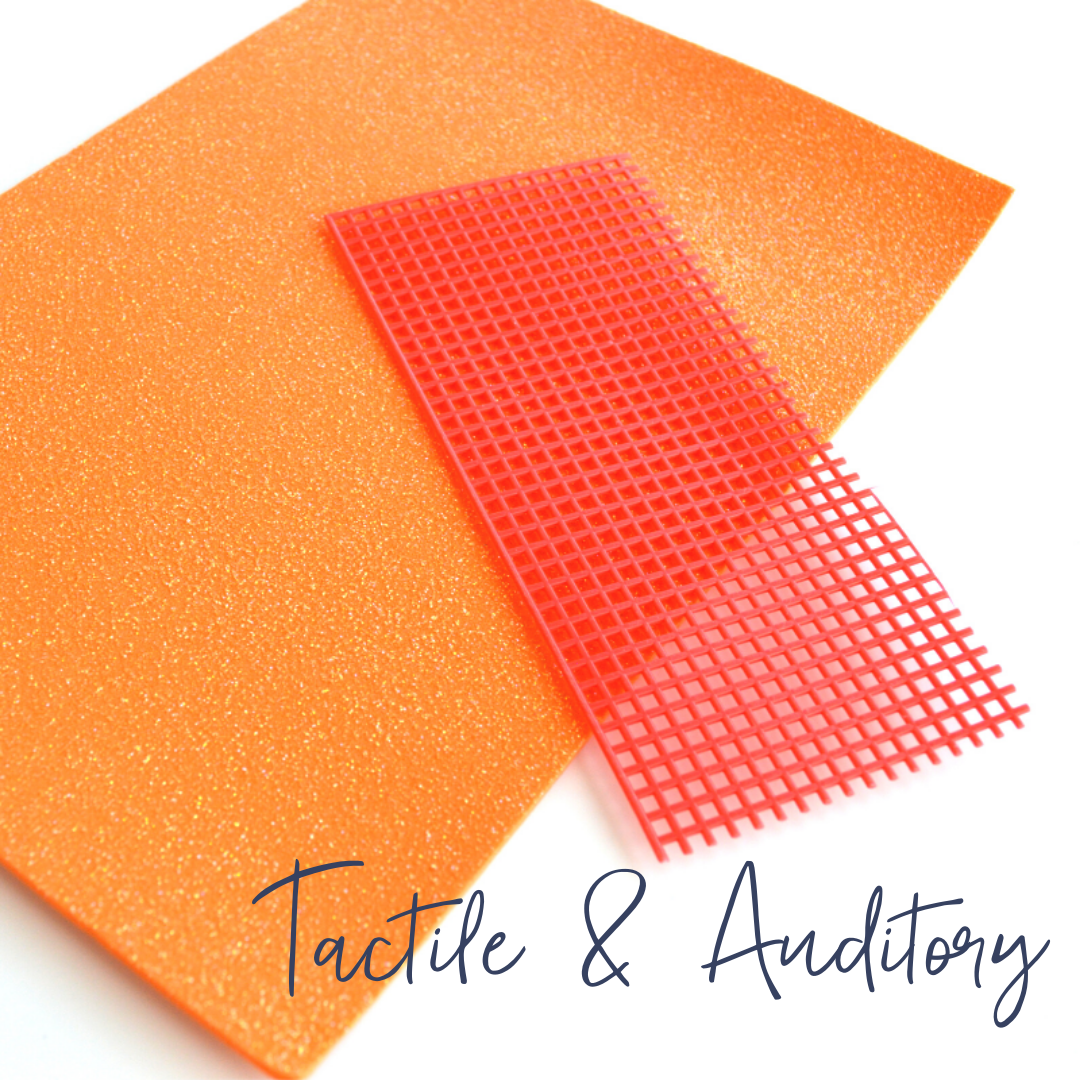
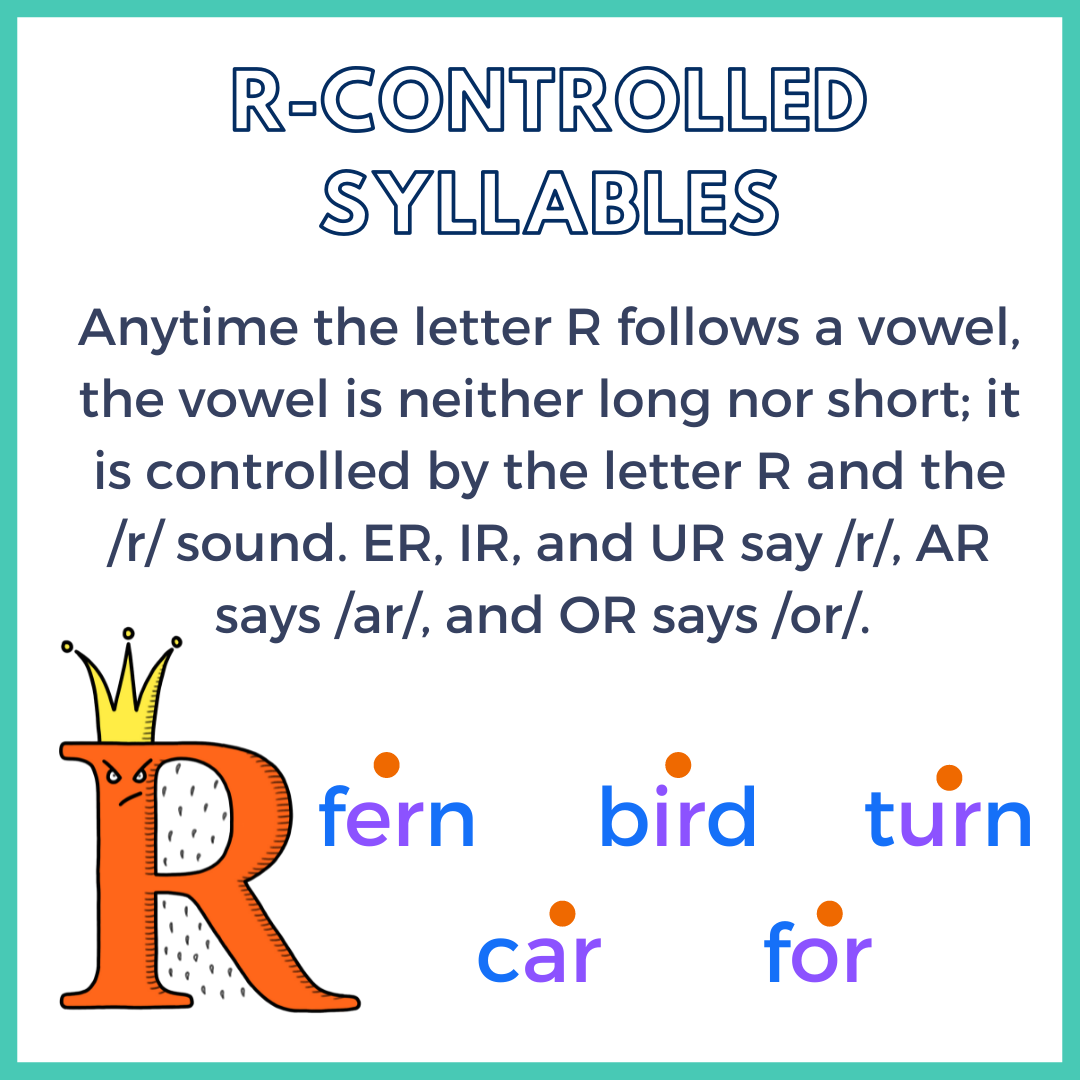
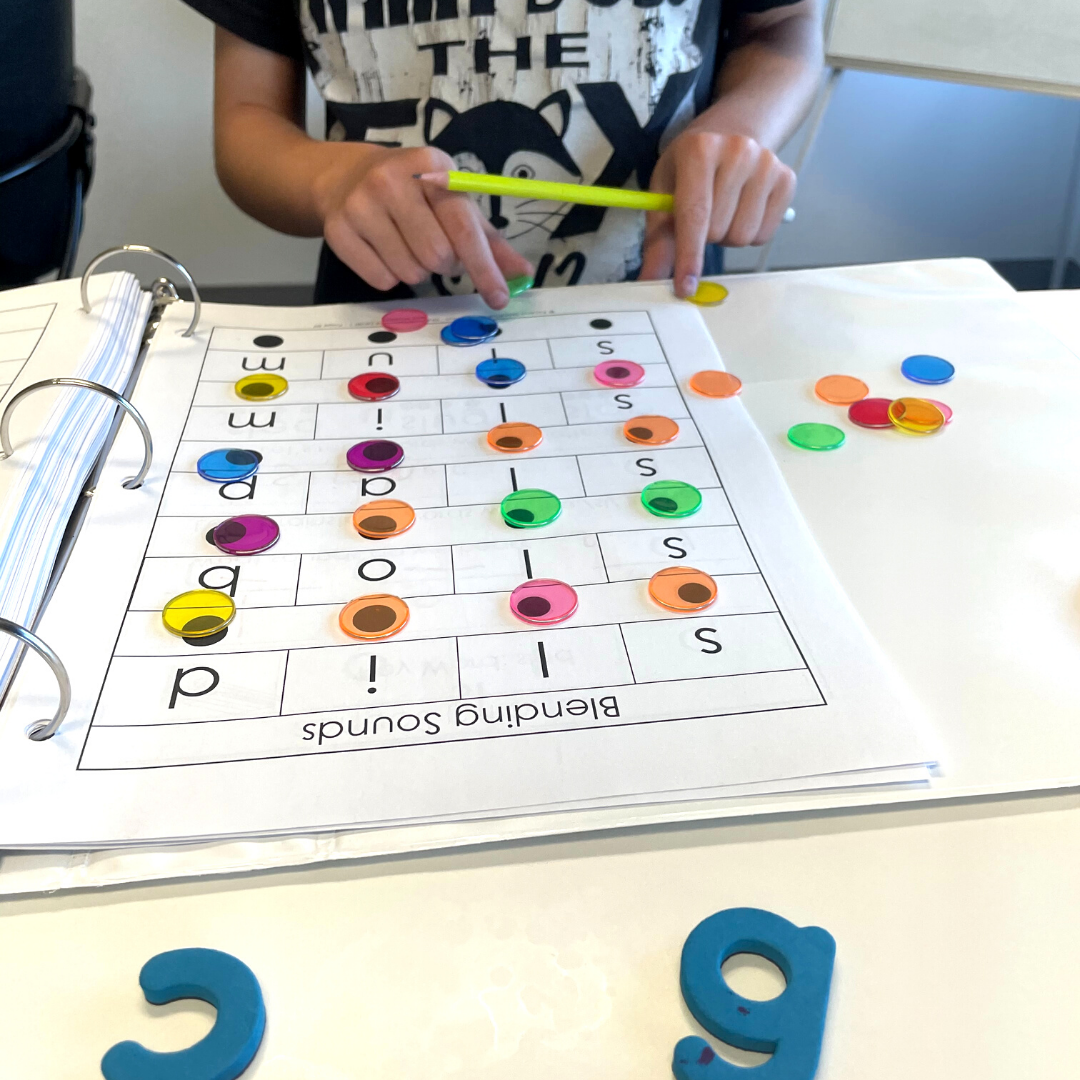
When instructing students at the sound level, be sure to have students practice writing the letters and saying the sounds. For example, if working on the pattern “ar.” have students write the letters “ar” while saying “a, r, says /ar/” three times.
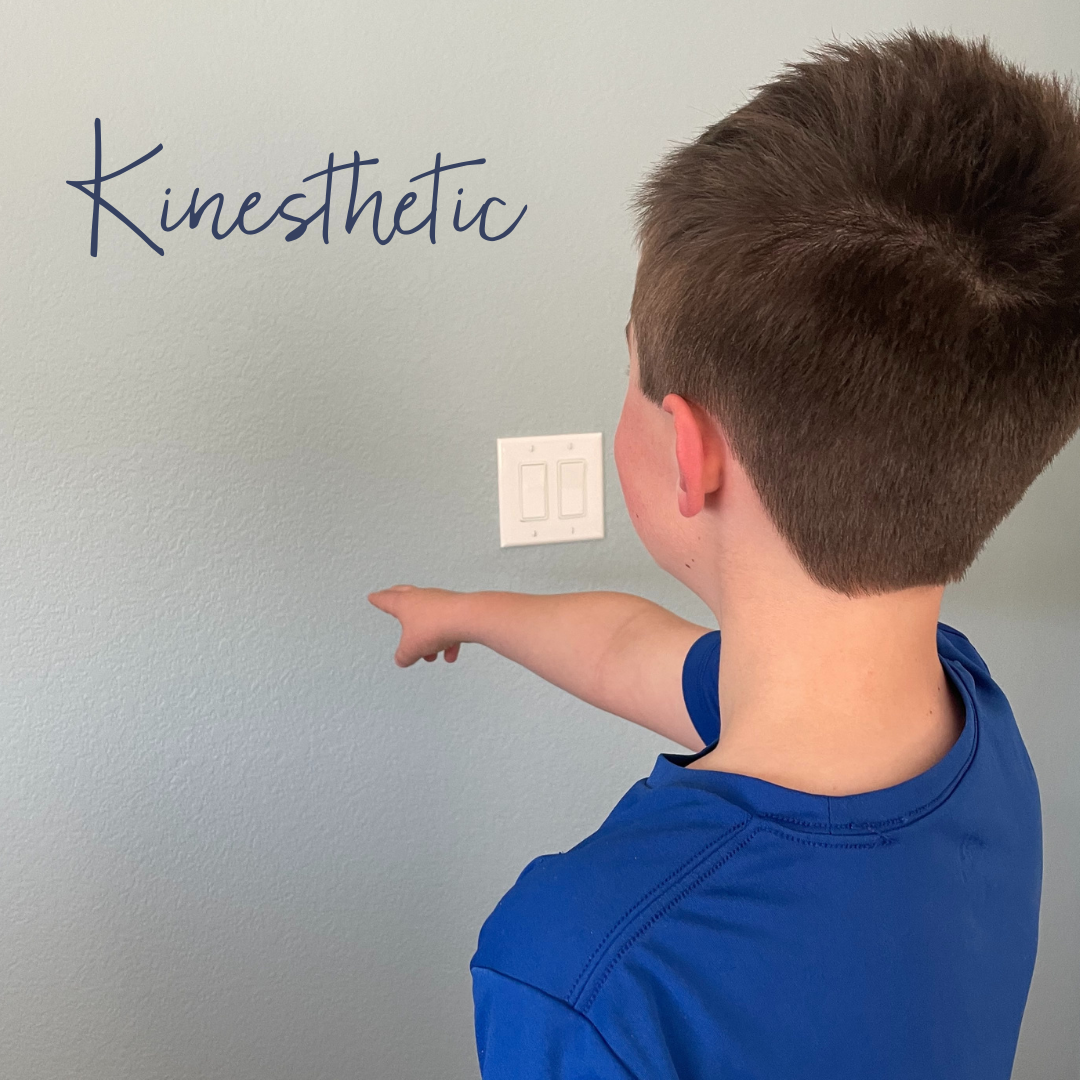
This is a great time to add multisensory components like glitter paper (to add a tactile component) or skywriting (to add a kinesthetic component). To see this in action, check out the video below!
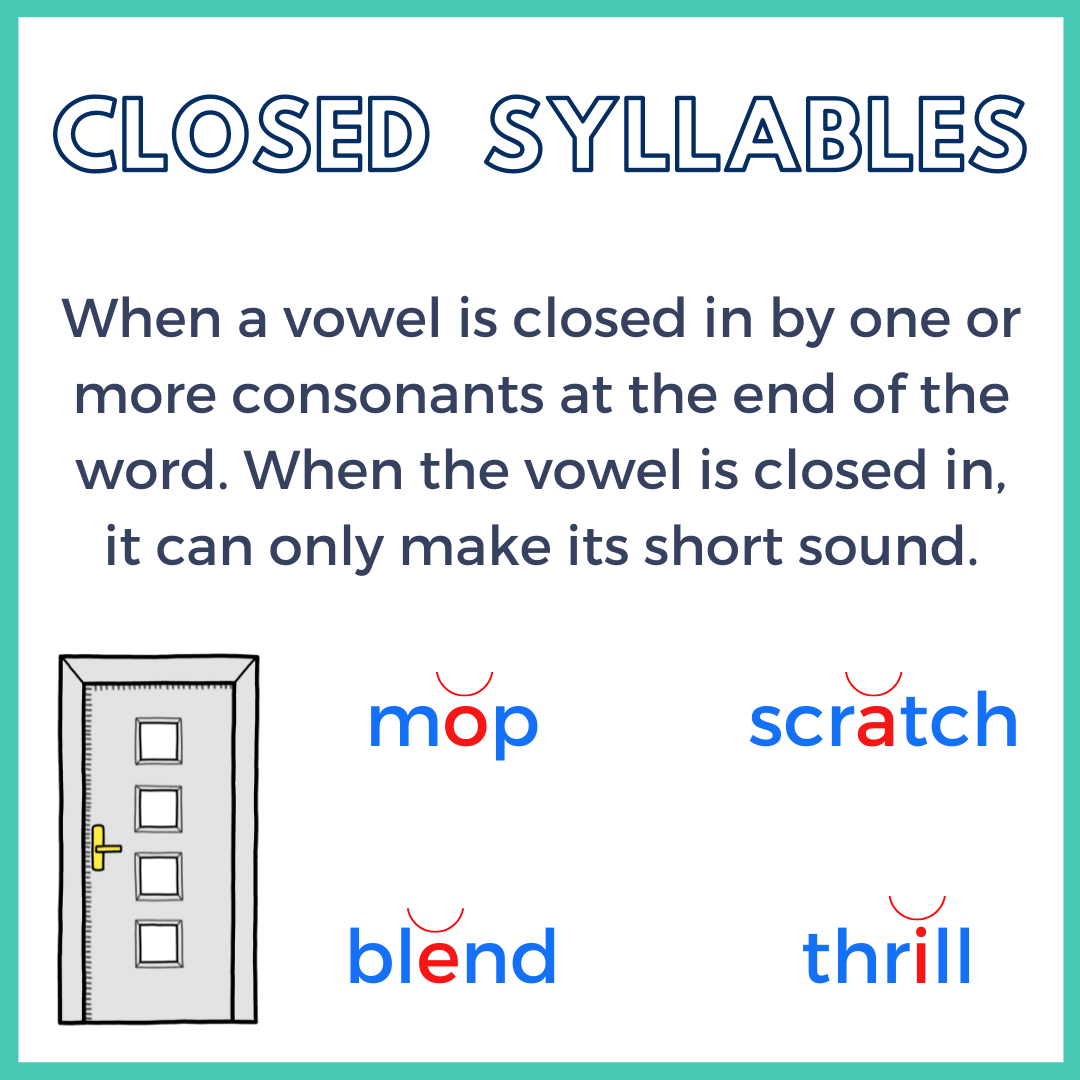
It is important to also discuss with students any syllable type rules that align with this pattern. For example, “ar” is a Bossy-R (or R-Controlled syllable). If we were working on something like -ck, we could say “-ck is a closed syllable pattern. We use it at the end of a one-syllable word after a short vowel sound.”
It is important that we help students make the connection between the rule & the syllable type so that they have a way to bucket each of the rules they are learning. This “big-picture” filing system allows them to better conceptualize & categorize all of the rules since there are a LOT of rules to remember.
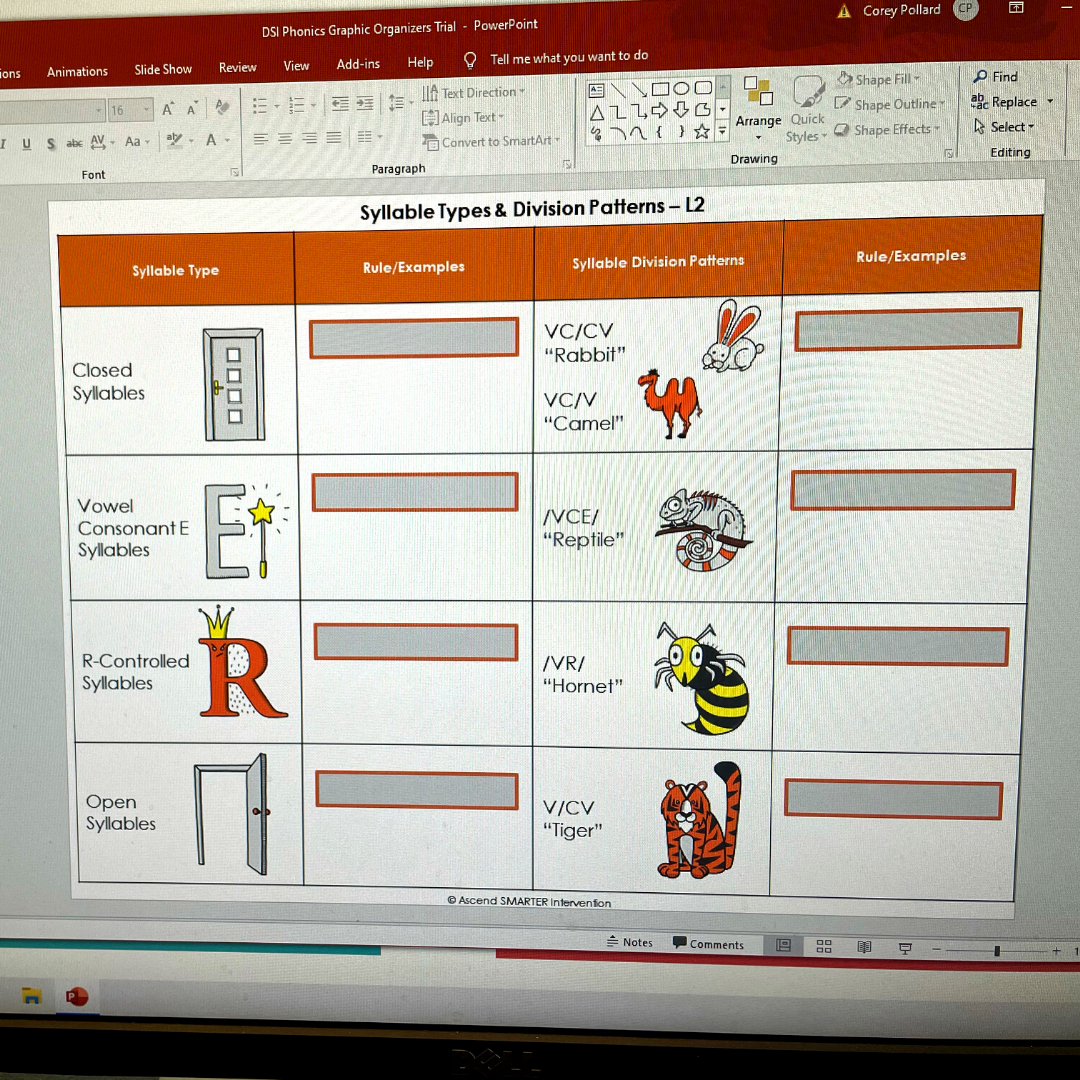
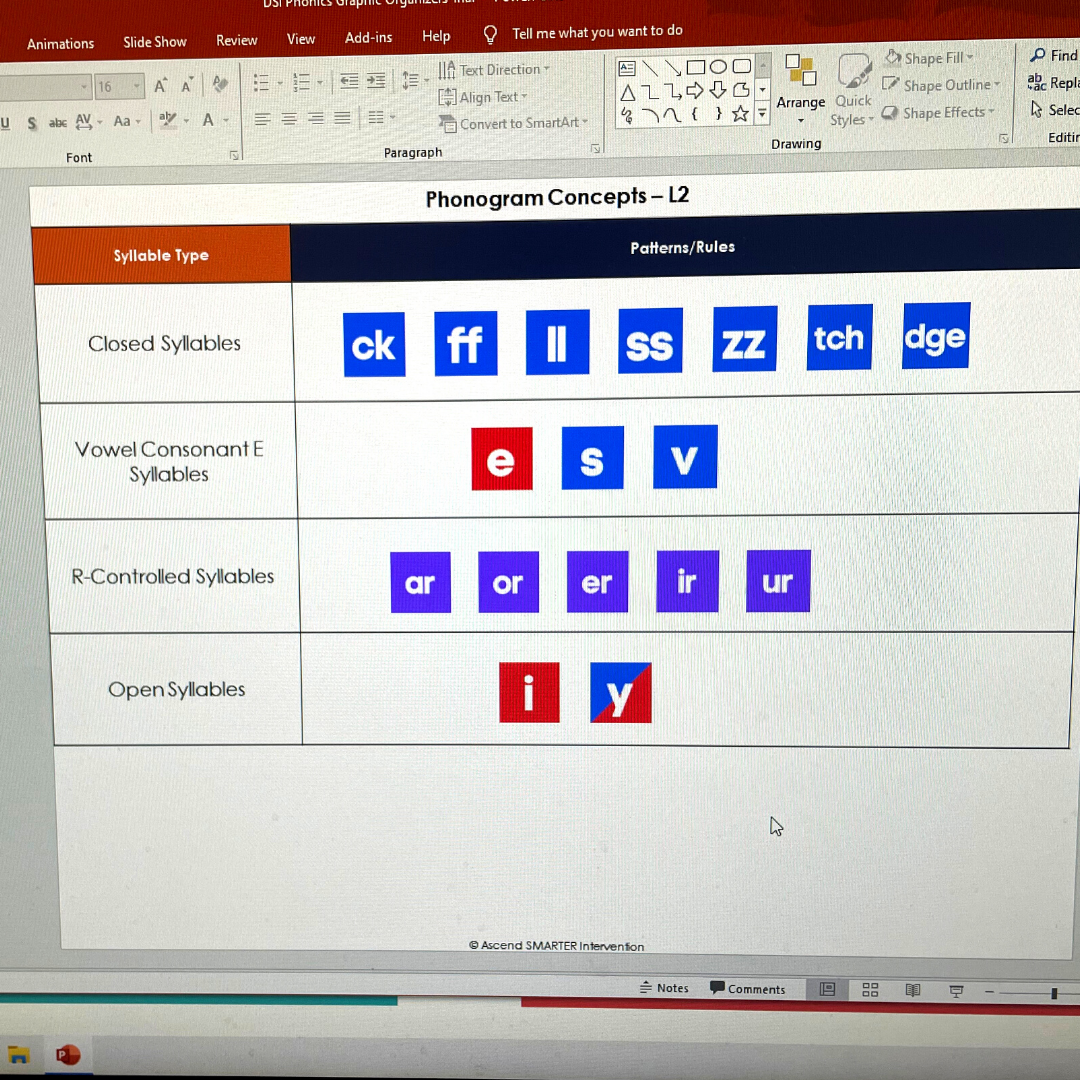
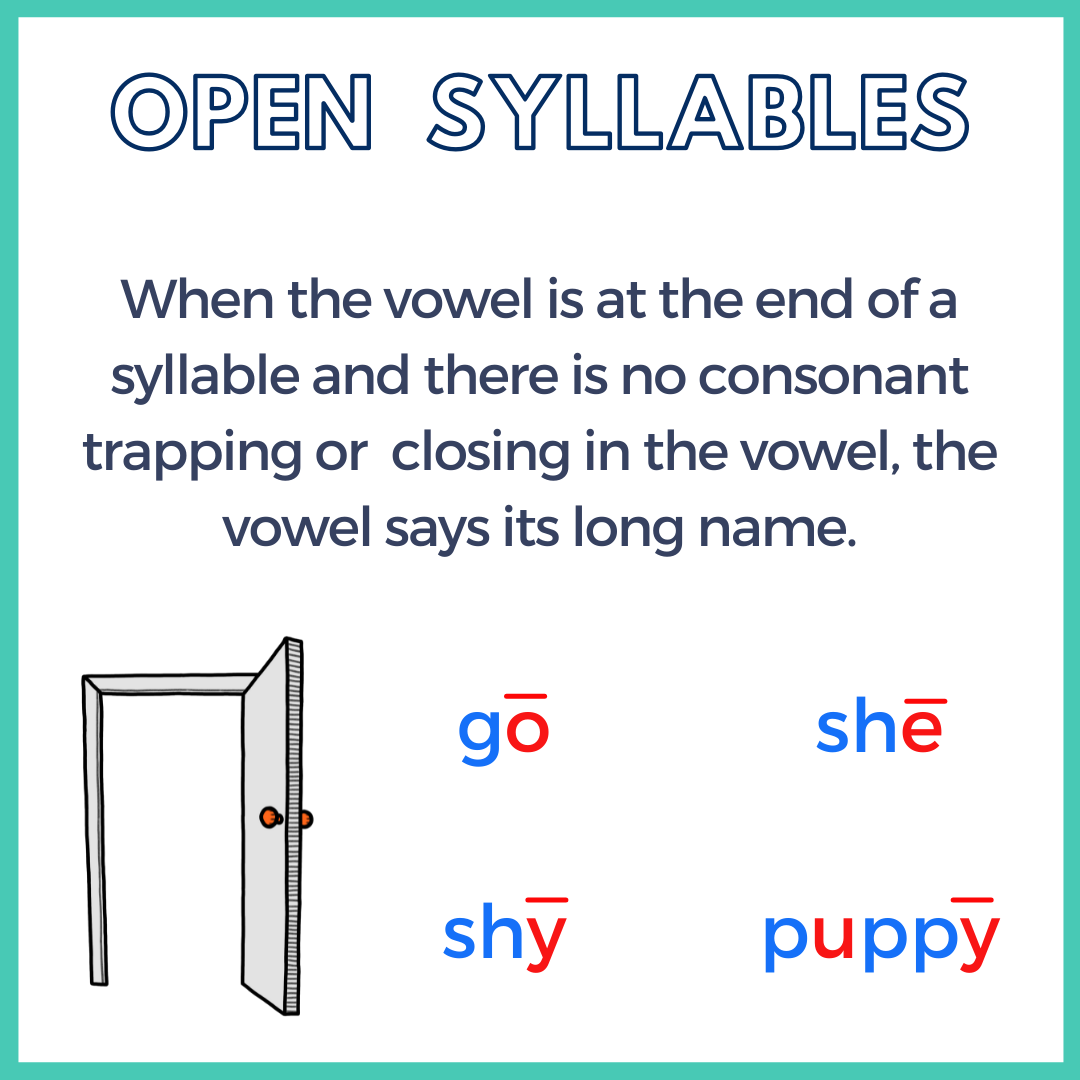
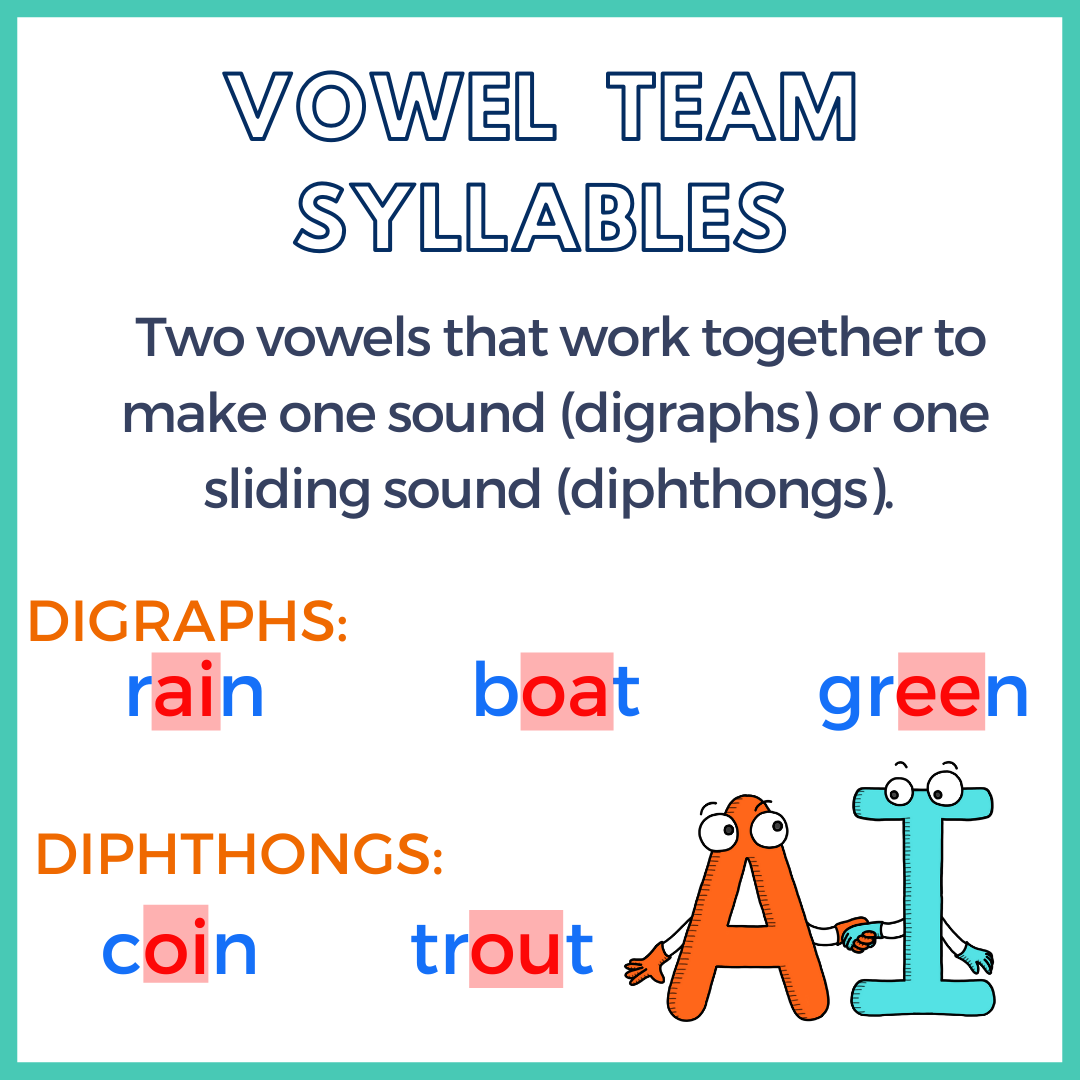
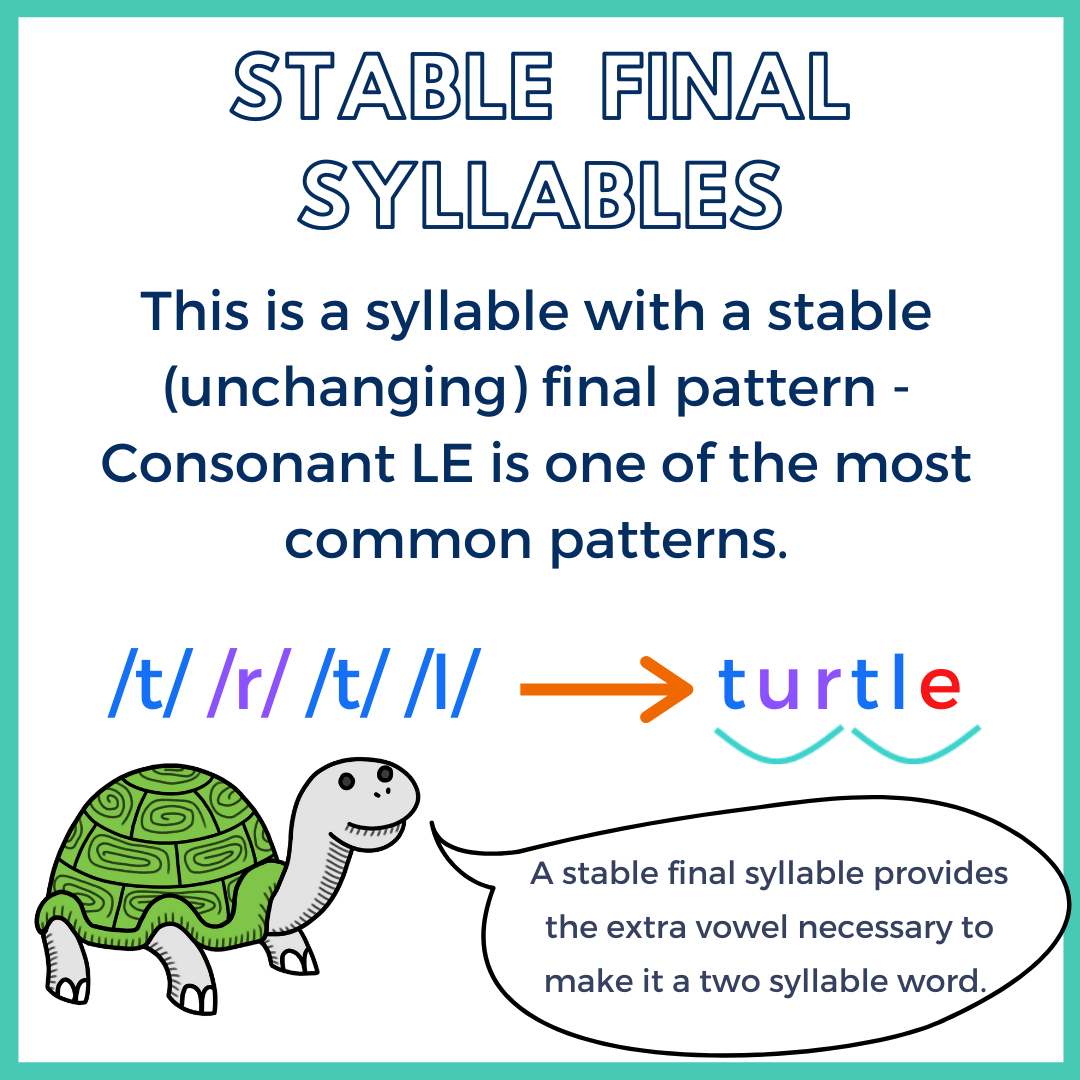
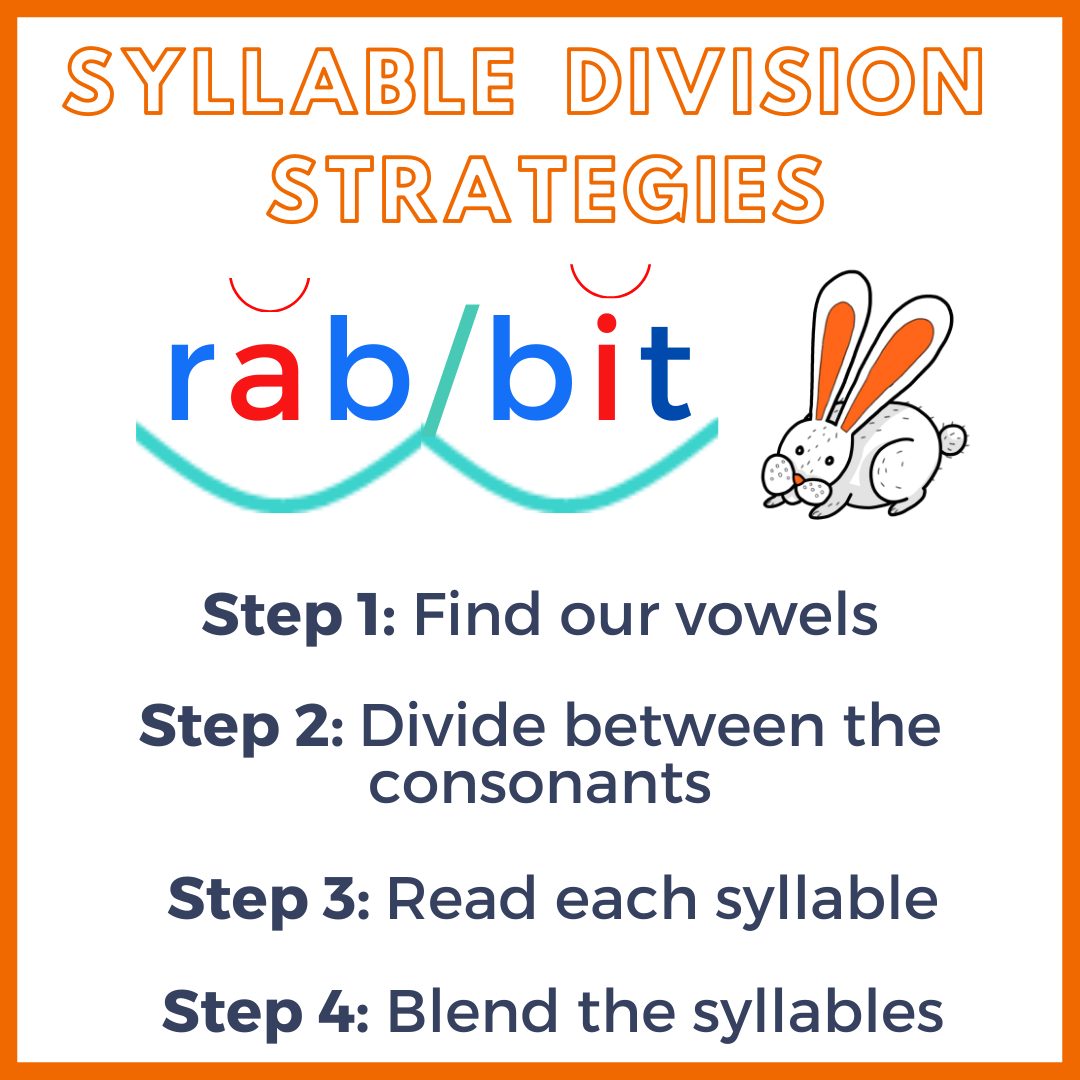
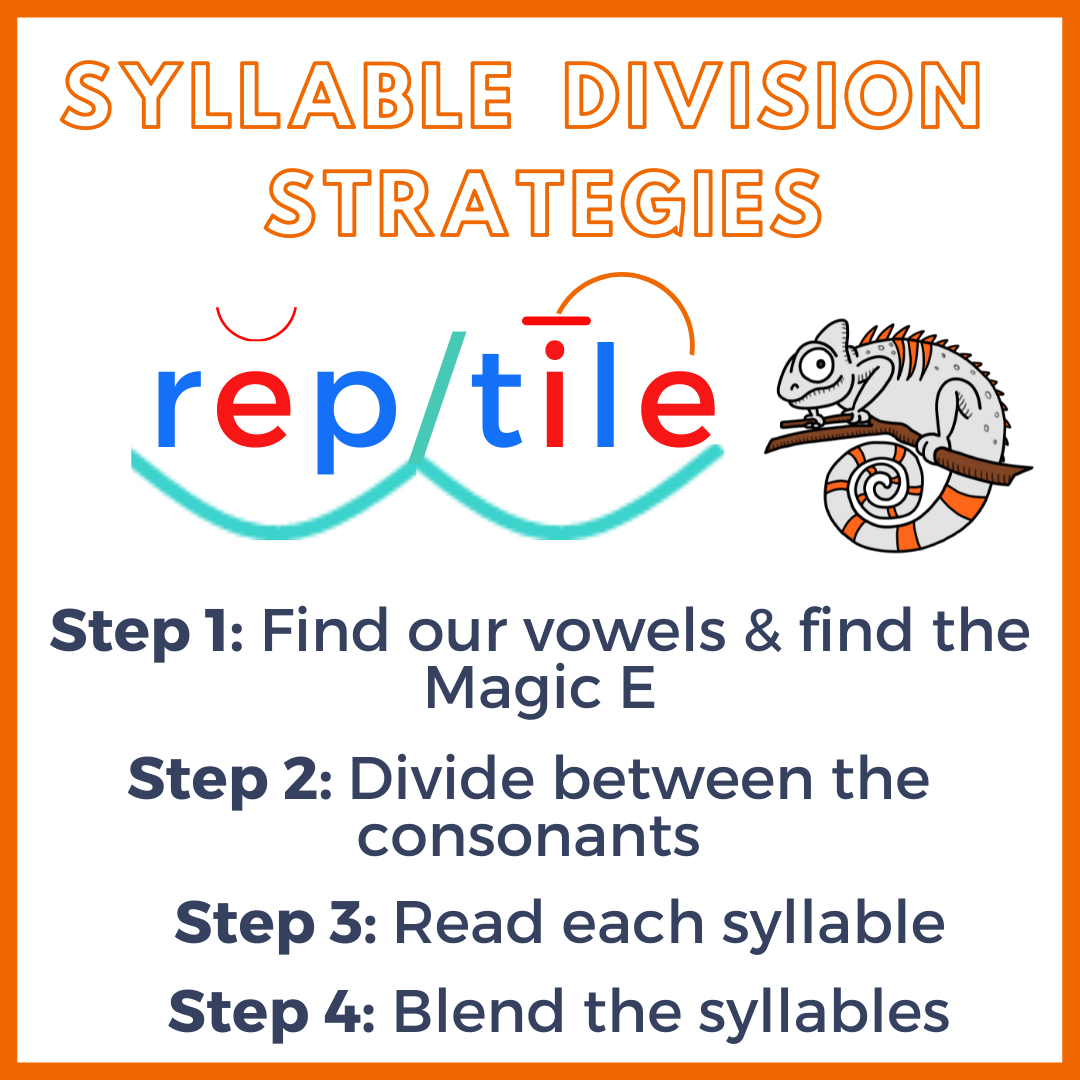
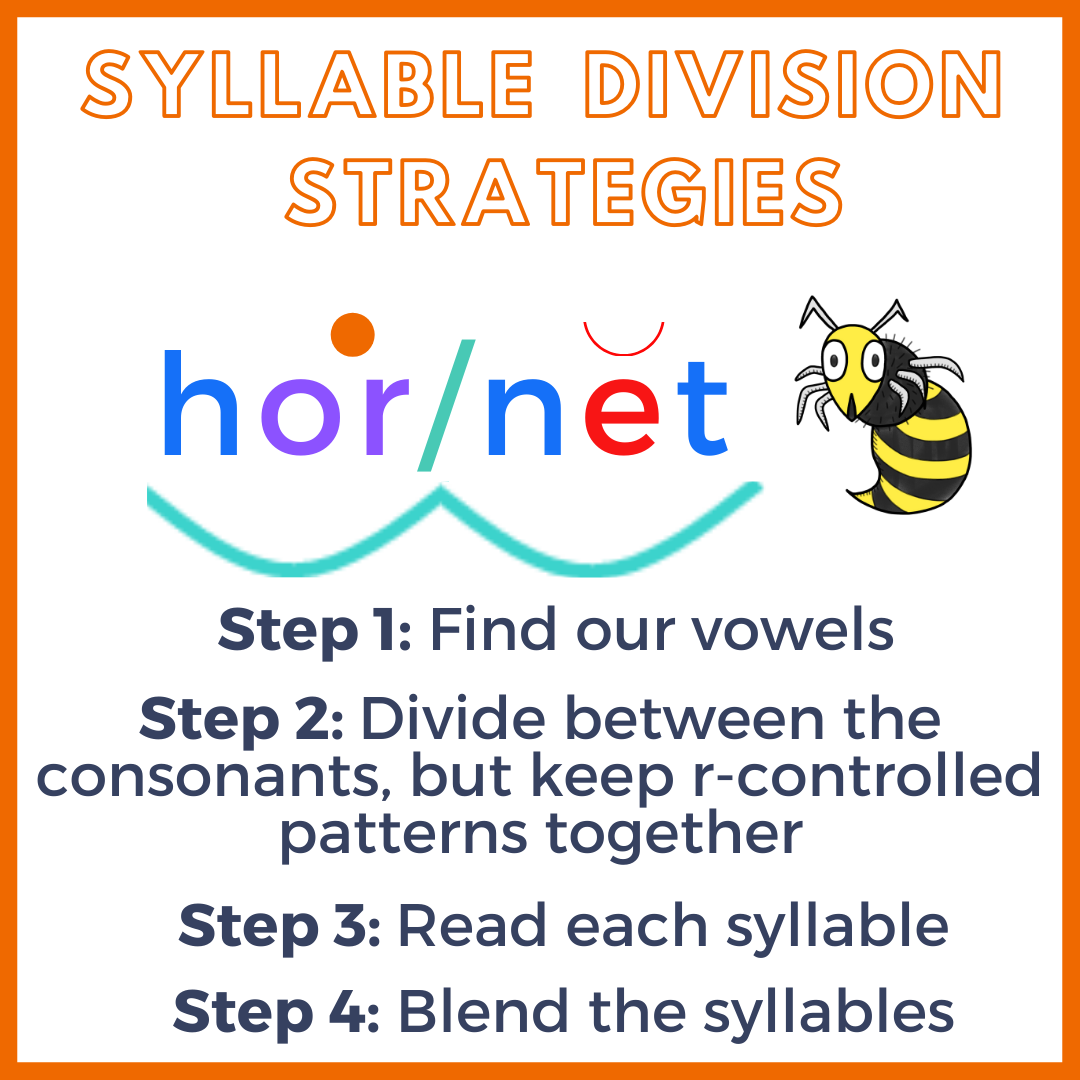
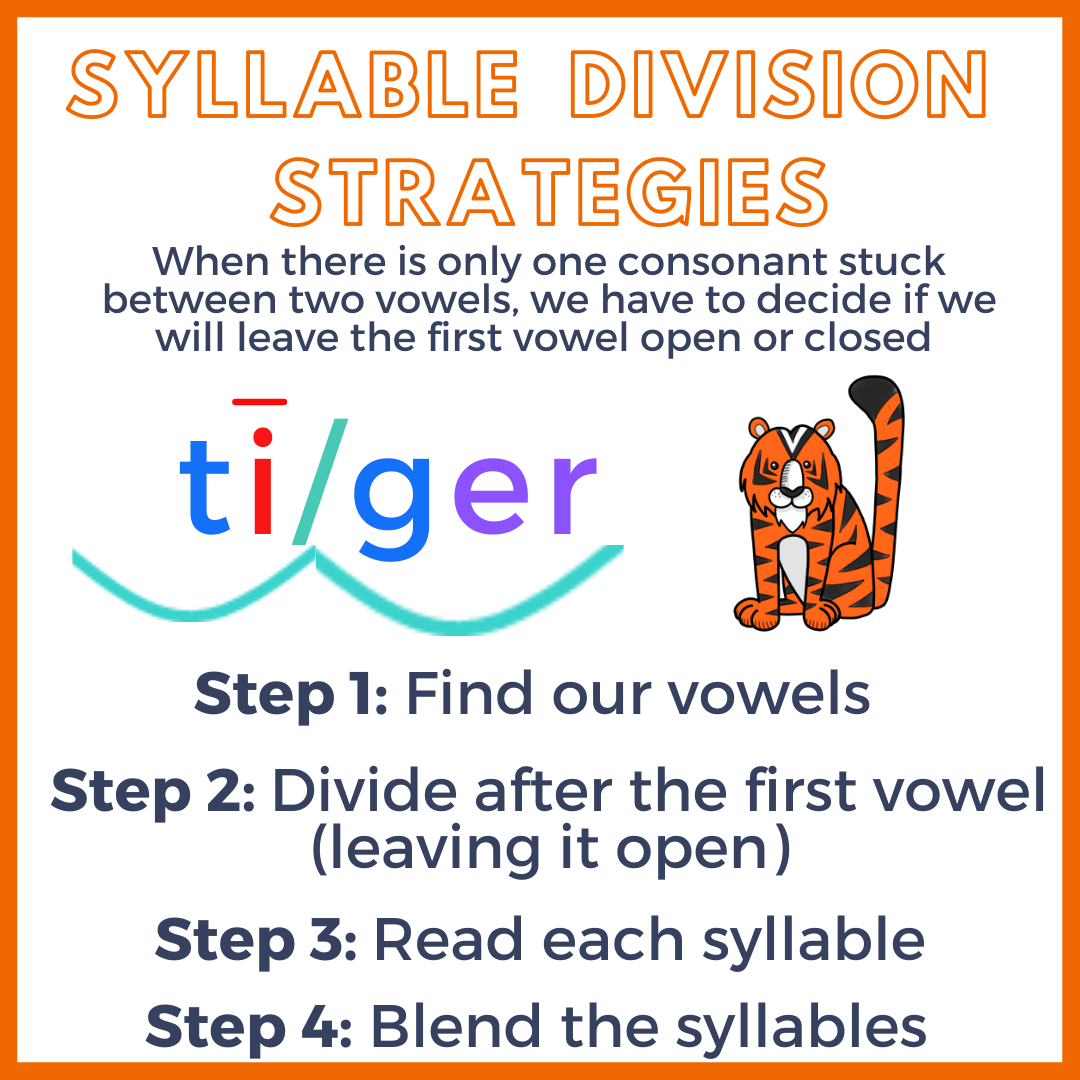
The graphics below will outline the different syllable types. You can also grab these graphics (formatted as anchor charts!) for free in our 7-Steps to Reading Instruction that Works training linked below!

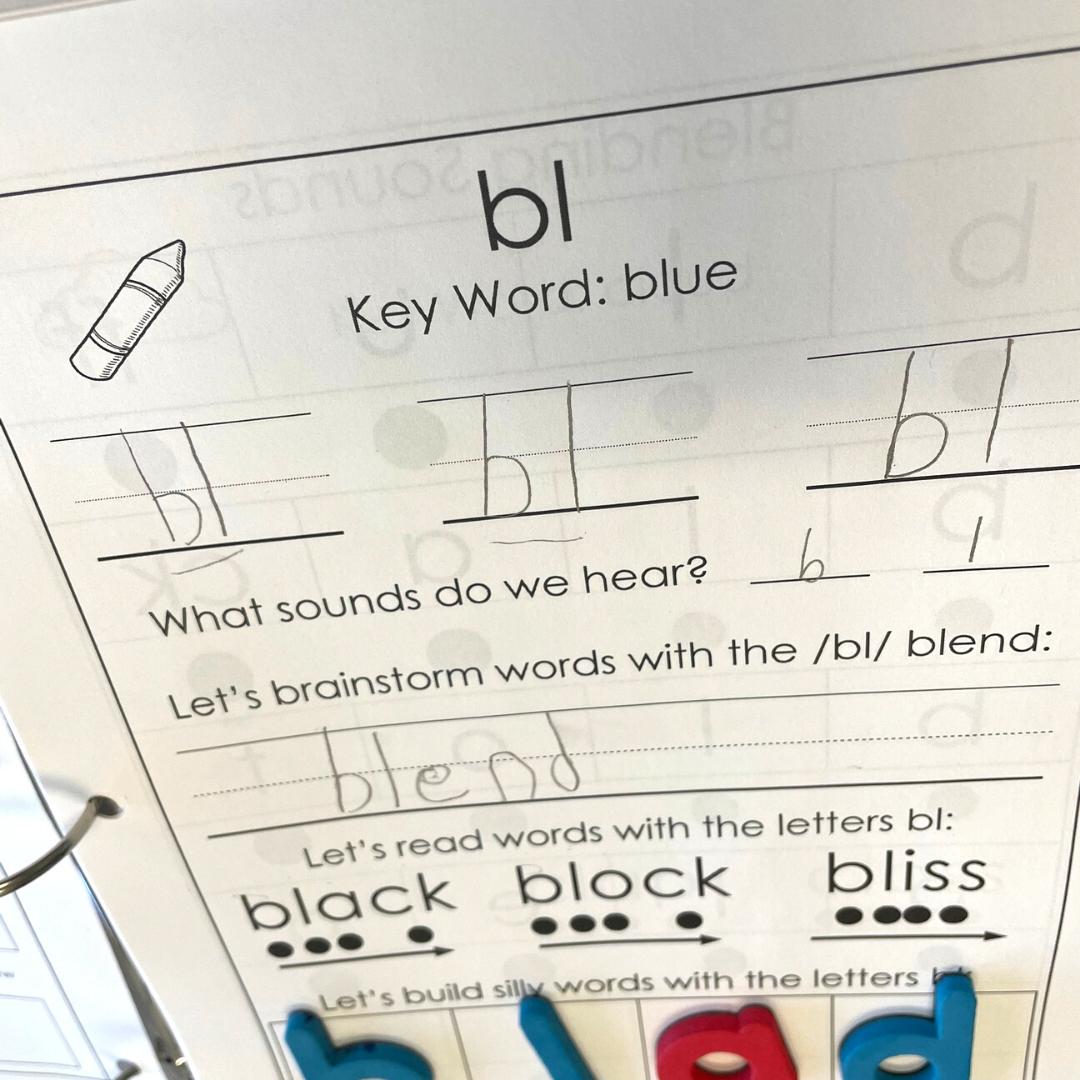
Next, we want students to practice applying this sound-symbol & syllable-type knowledge at the word level.
When reading at the word level, we first ask students to find their key phonogram within the word to help draw their attention to it. Then, it is important that they practice decoding words (single & multi-syllable when appropriate) with the pattern so they can see when/how the pattern is used.
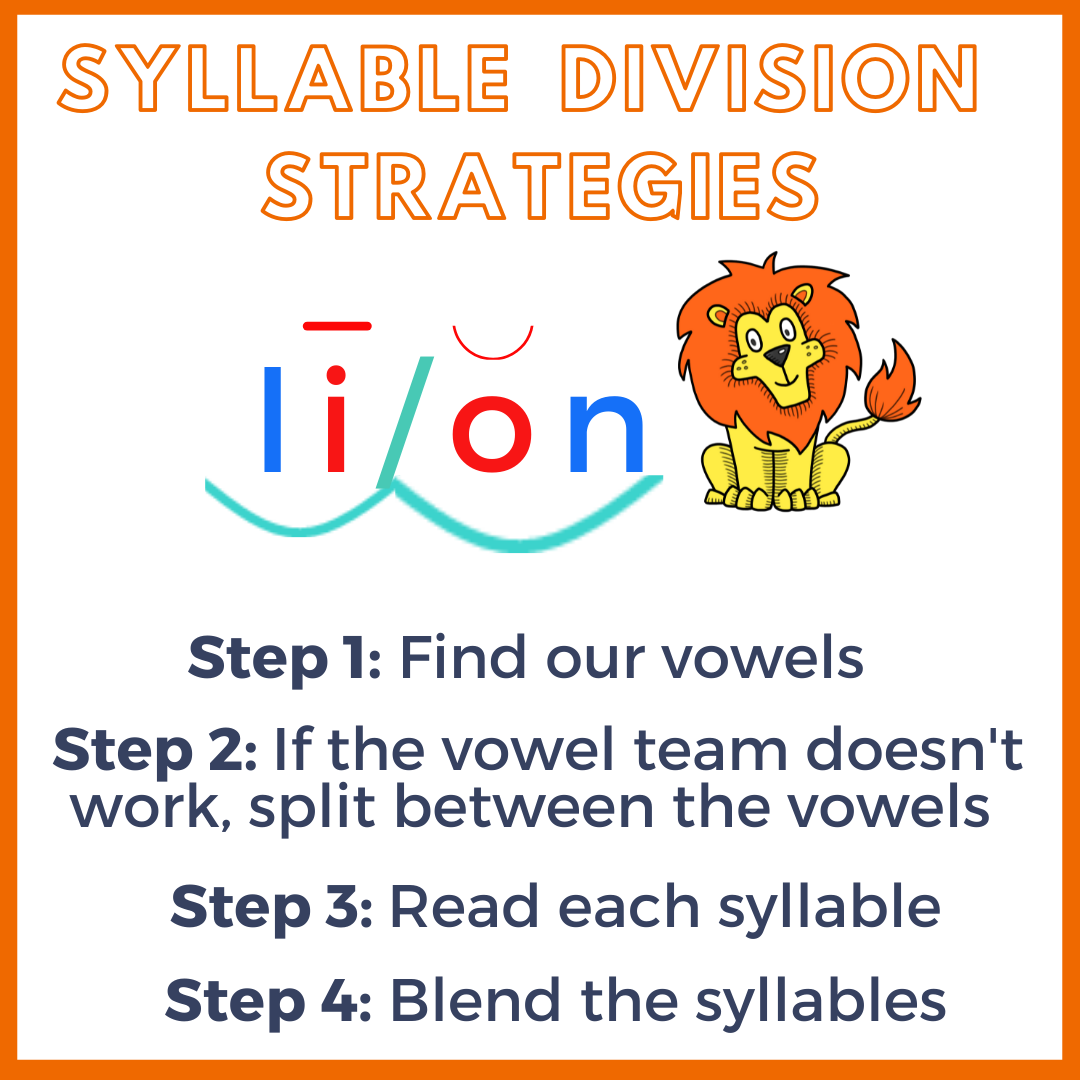
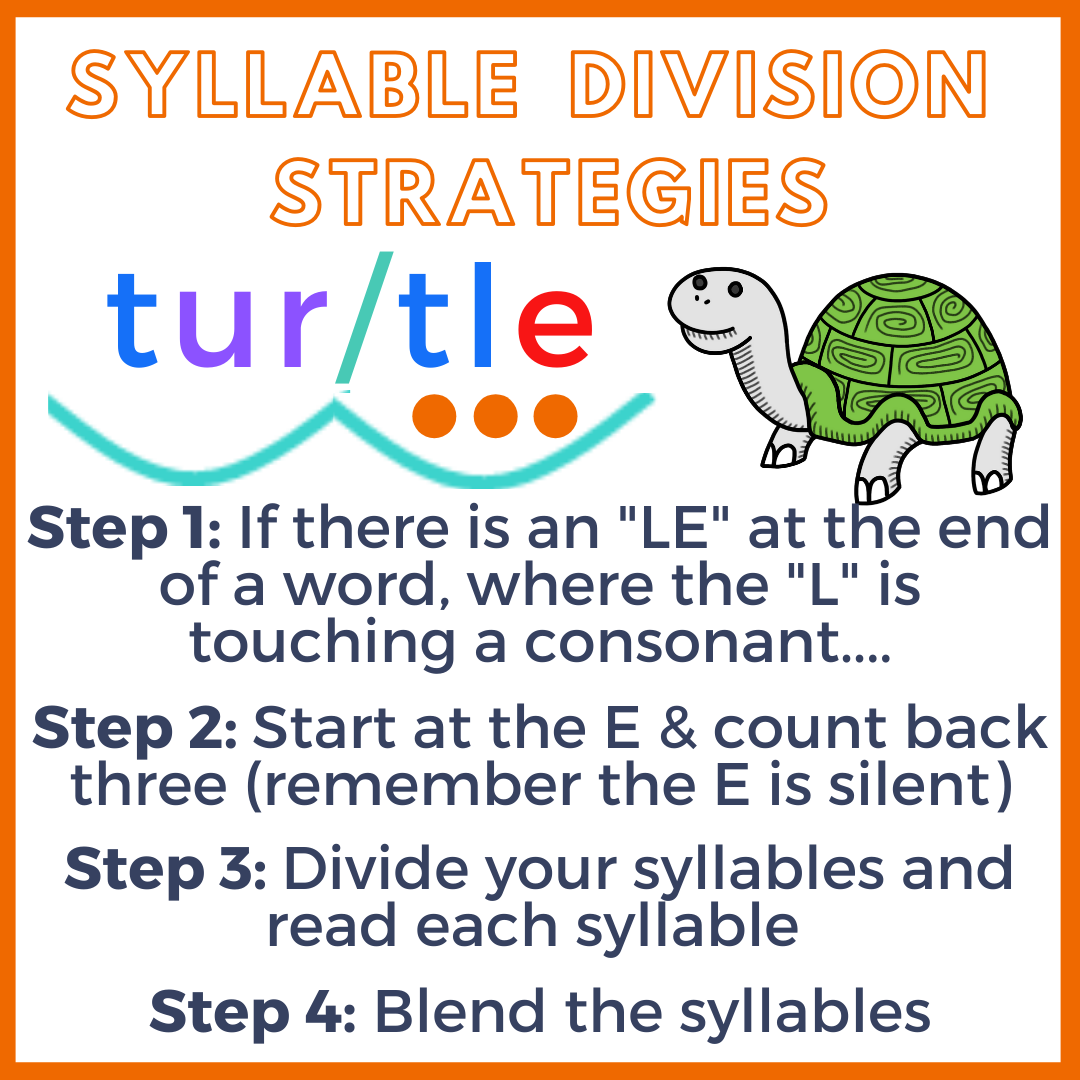
If working on multi-syllable rules, the syllable division patterns should also be explicitly taught so that students understand how to break these words up into smaller pieces.

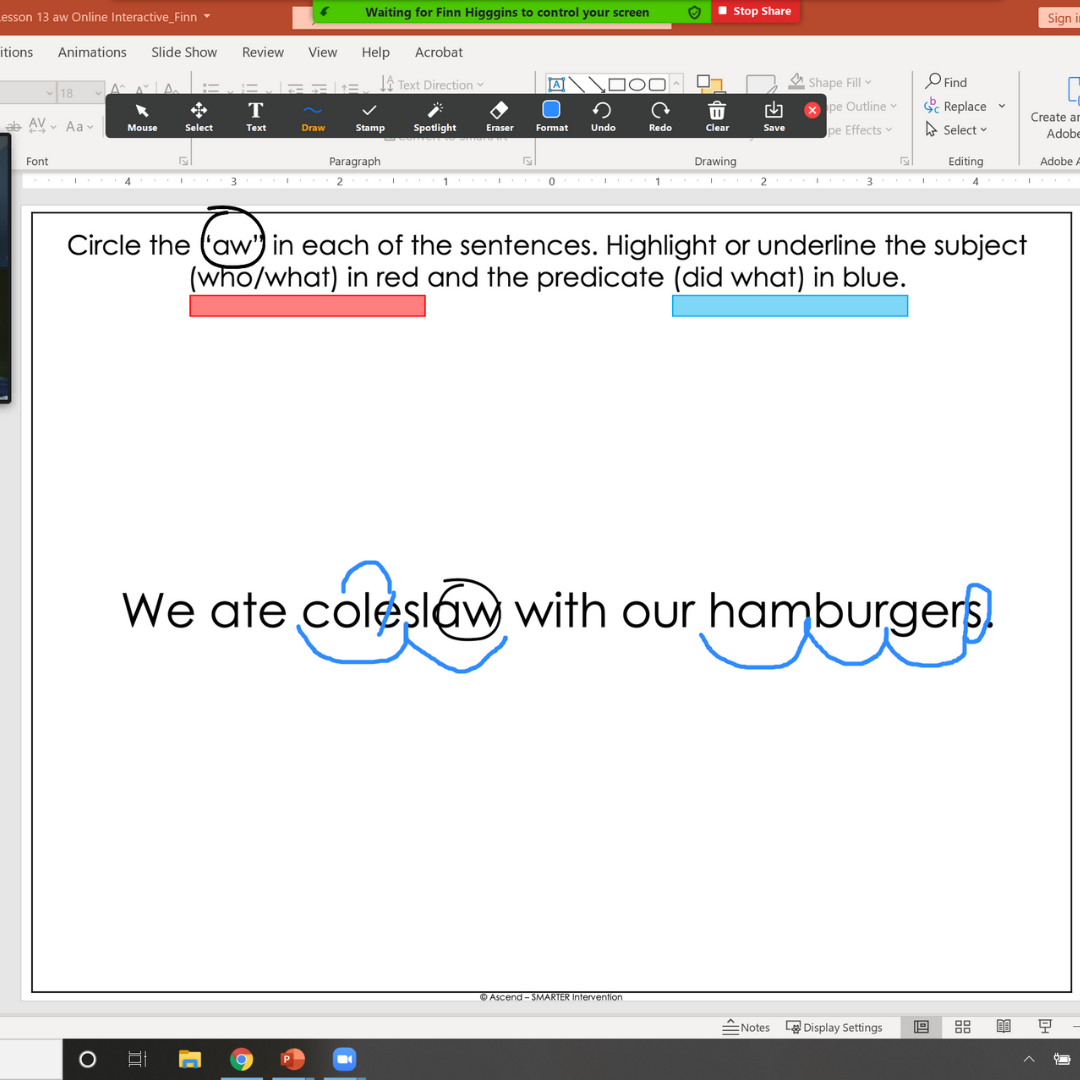
After decoding at the word level, students should then apply their phonics knowledge at the sentence & passage level. Before reading, have them identify any words with the key phonogram so that they see how what they are learning carries over to these more advanced tasks.
This will help with their generalization as they see the phonograms & phonics patterns they are learning in real life!

If you are interested in learning even more about the Science of Reading & what actually needs to go into a structured literacy lesson (including more tips about teaching explicitly!), we’d love to invite you to grab our Science of Reading Blueprint. Use the link below to grab this free resource.