How to Organize Your Literacy Worksheets
Is there anything worse than combing through piles of worksheets to find the ONE you’re looking for?
As a part of our organizational series, this week we are sharing our process for keeping all of our worksheets & full-page activities organized!
The 3 keys we’ve found to keeping worksheets organized are…

Using Binders
Color-coding by Concept
Organize Your Materials by Subskill
Let’s break each of these down, shall we?
Step 1: Get Your Binders
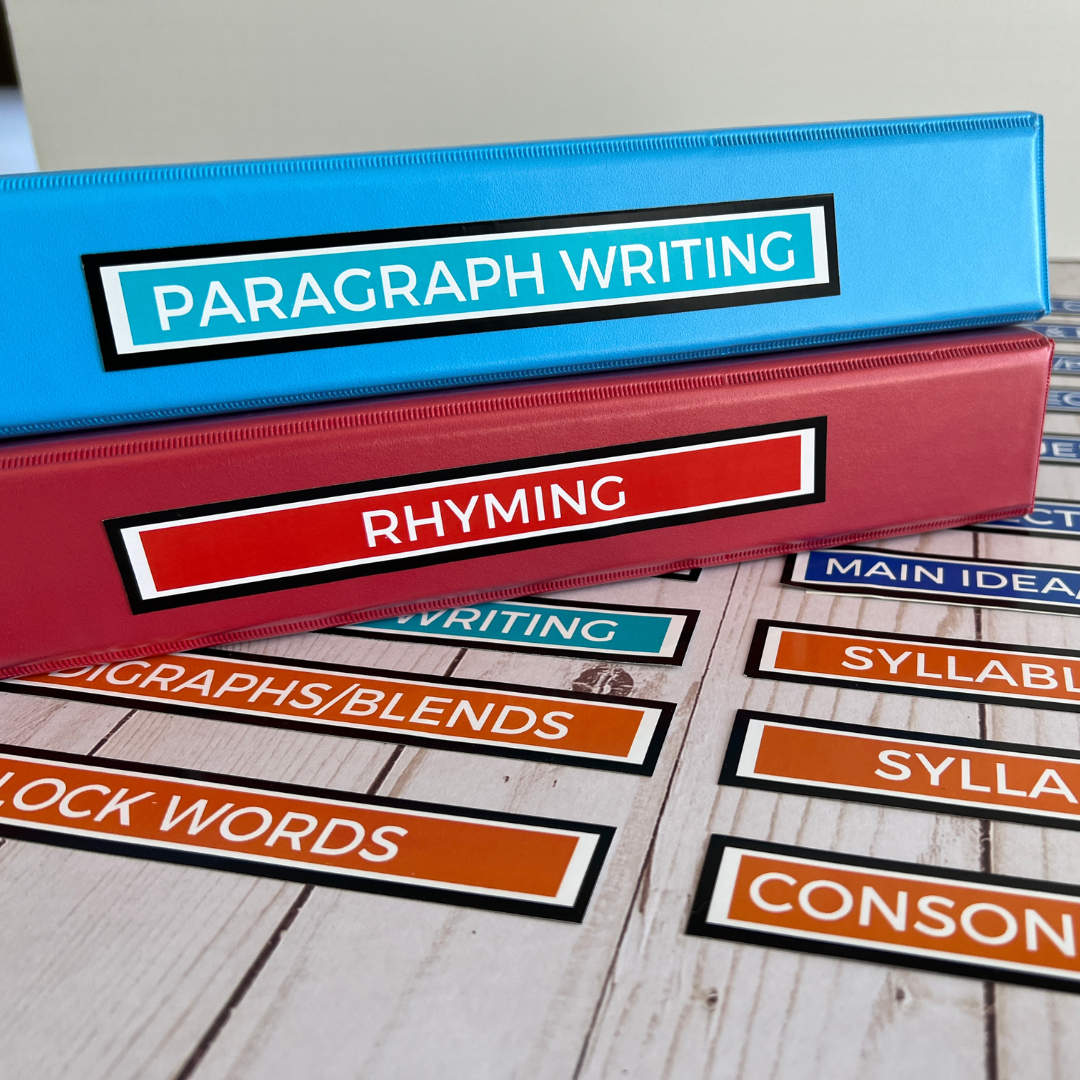
We are big fans of binders here in our office. We like them because they sit neatly on the shelf, we can clearly label them so we know what is in each binder, they are easy to flip through so we can find what we need, AND when we find the worksheet we want, it is easy enough to pull it out, make copies, and give them to our student(s).
Step 2: Color-Code Your Materials by Literacy Component

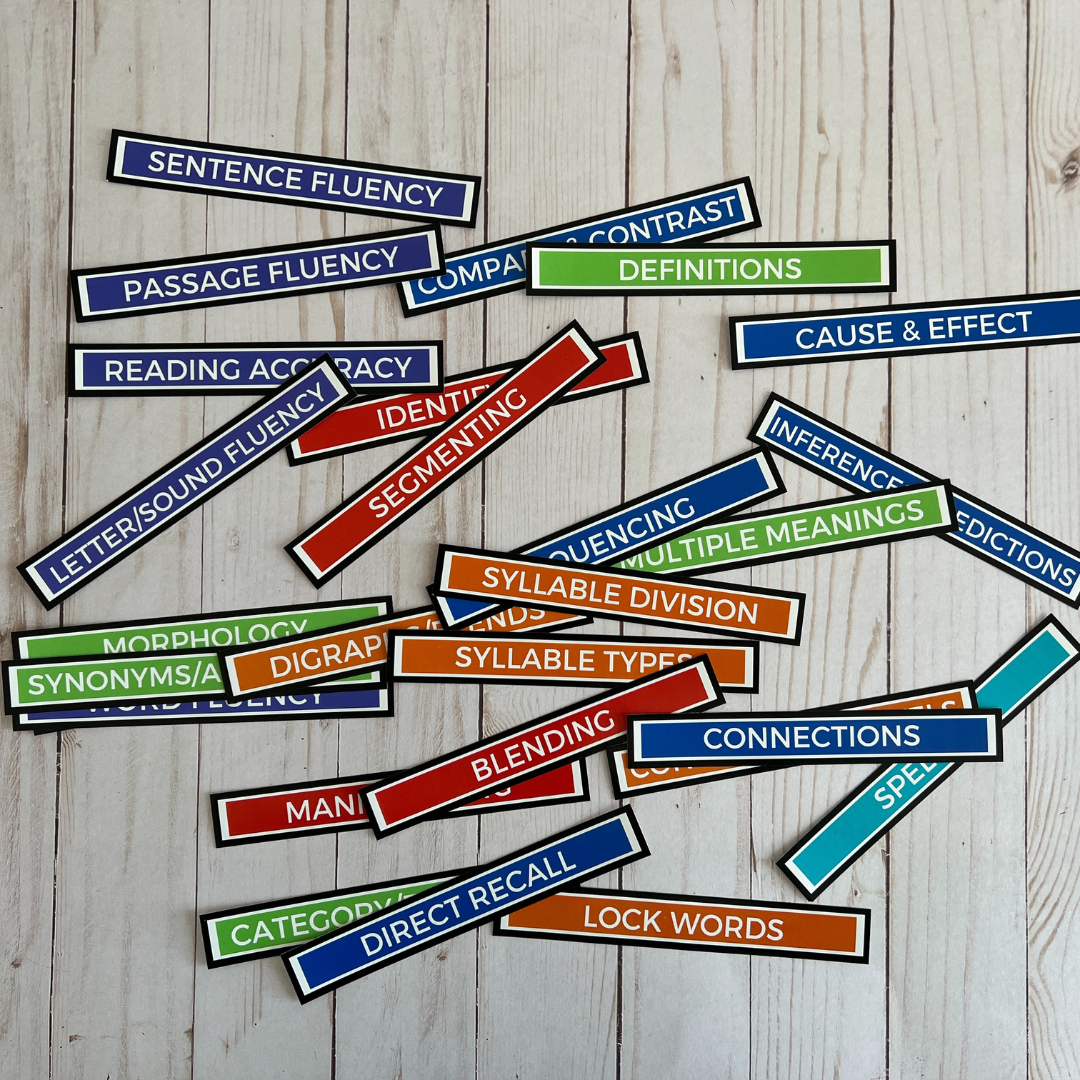
Call us Clea and Joanna from the Home Edit - we love color-coded organizational systems! When we are looking for a specific activity, the last thing we want to be doing is scanning row after row of binders to try and find what we’re looking for. To avoid this, we use red binders/labels for PA activities, orange for phonics, green for vocabulary, purple for fluency, blue for comprehension, and teal for writing. This system matches the rainbow cart we use for organizing our task cards (you can read more about that here).
Having our binders color-coded by literacy component allows us to narrow our search to a specific color. Then, we have far fewer binders to scan to find the activity we are looking for.
Step 3: Organize Your Materials by Subskill

In addition to categorizing our materials by literacy component, we create subcategories for each subskill. We use one binder for each of these concepts.
For example, in our comprehension section, we will use one binder for activities related to the main idea, one binder for cause & effect, one for making connections, one for compare & contrast, another for inferences/predictions, and so on. For PA, we’ll have a binder for blending, another for segmenting, a third for rhyming, etc.
We label the outside of the binder with the name of the subskill so that they are easy to find at a quick glance. You can do this in marker or you can find the color-coded labels we use >>>here.<<<
Bonus Step: Order the Materials in Your Binder from Easiest to Hardest!
Since we work in an intervention setting, we work with students of a wide variety of ages and ability levels. However, having pre-differentiated and scaffolded activities will also be helpful in the classroom as you’ll encounter different ability levels within one class.
Within any given binder, we have pre-differentiated activities so we can ensure we always have an appropriate passage or activity to support the literacy subskill across levels.
For example, in our “Direct Recall” binder, we have a variety of passages that we can use with students to practice direct recall. They start simple and grow more complex the further back in the binder we go. This is helpful in groups because we can have our students all practicing the same literacy skill with passages that are appropriate for each of them AND for 1:1 intervention students because you can build up to the more difficult passages over time.


To Recap -
We organize our materials by literacy skill and subskill. Each subskill has its own color-coded binder. Then, we put activities for a variety of levels in the binder so we always have differentiated activities to pull from.
If you’re looking for the activities we use to fill these binders…
All of the materials in these binders come from our 5-Core Components of Literacy Activity Library. The library gives you access to hundreds of resources you can use alongside any curriculum to further target key literacy skills including Phonological Awareness, Phonics, Vocabulary, Fluency, Comprehension, and Writing.
You’ll get access to content-specific and high-interest units that will help students generalize their literacy knowledge across the content areas.
PLUS, who doesn’t love getting new activities delivered to their inbox every month?!