How to Organize Student Bins for Literacy Intervention

Is it just us or does it seem like every now and then the urge comes to reorganize?
The process of organizing helps create the feeling of being in control (helpful since we work in a setting that often feels a bit chaotic!)
We’ve been talking A LOT about organization recently. We’ve talked about -
And now, we are talking about…
How we organize our student materials
We see students in an Intervention/Special Education setting so we see students across different levels of instruction - but this same strategy could work in the classroom as well.
Here’s the breakdown of our Student Materials Organization process -

Step 1 - Collect & Label Book Bins
Each of our students has their own book bin. We got our bins from Lakeshore because we like the label holders but you could also use a less expensive alternative like these from Amazon. Or you can even just collect any that you may have had around previously.
Then we label each of the book bins with a number. We started by labeling them with student names but quickly realized it was easier to use numbers instead. That way, when a student graduated or if they moved/transferred we could reuse the bin without having to create a new label. #savingtime
Step 2 - Add Student Materials
Now obviously, this will be different for everyone depending on your literacy curriculum/programming. That said, we will run through what we include in our student bins. Each of our students has a:
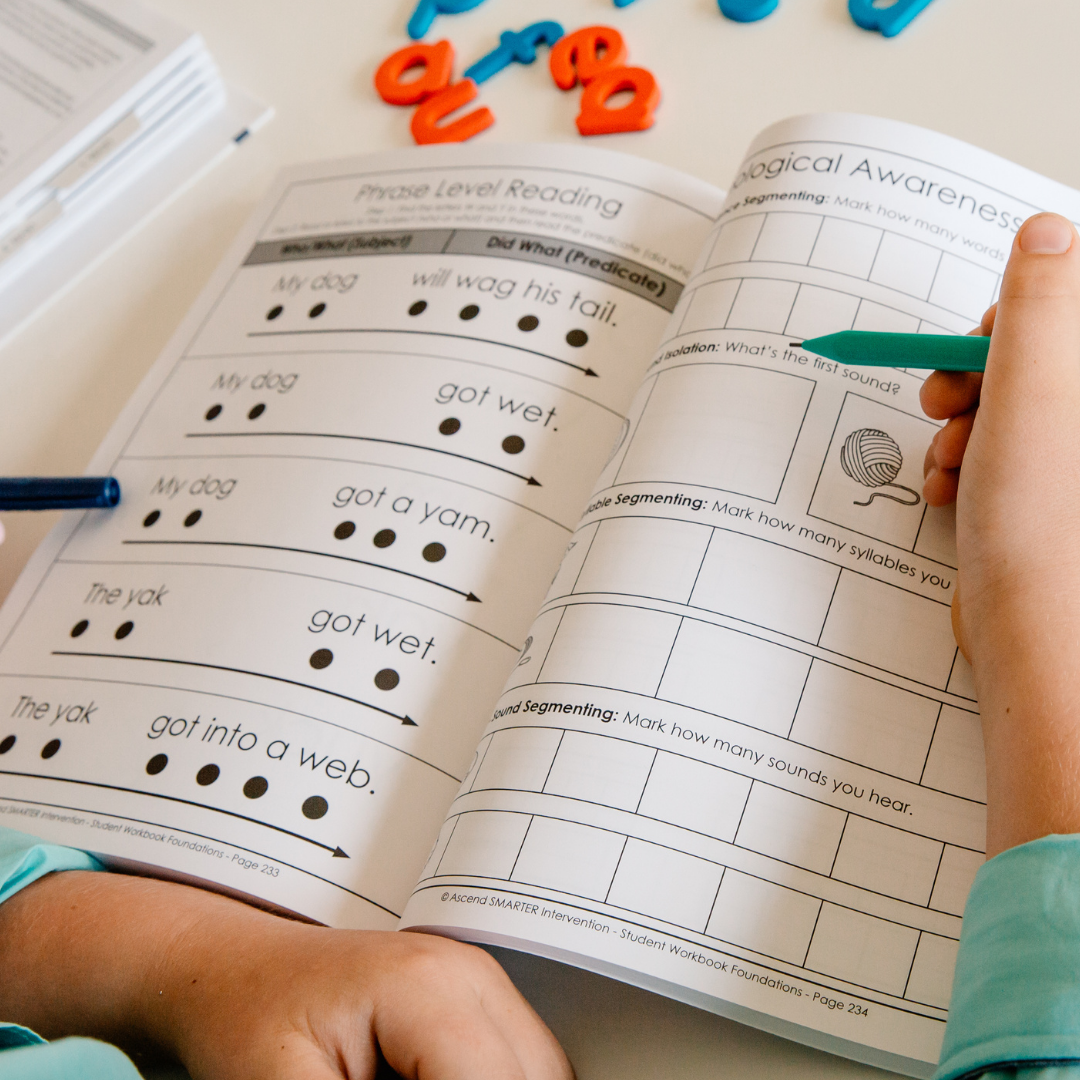
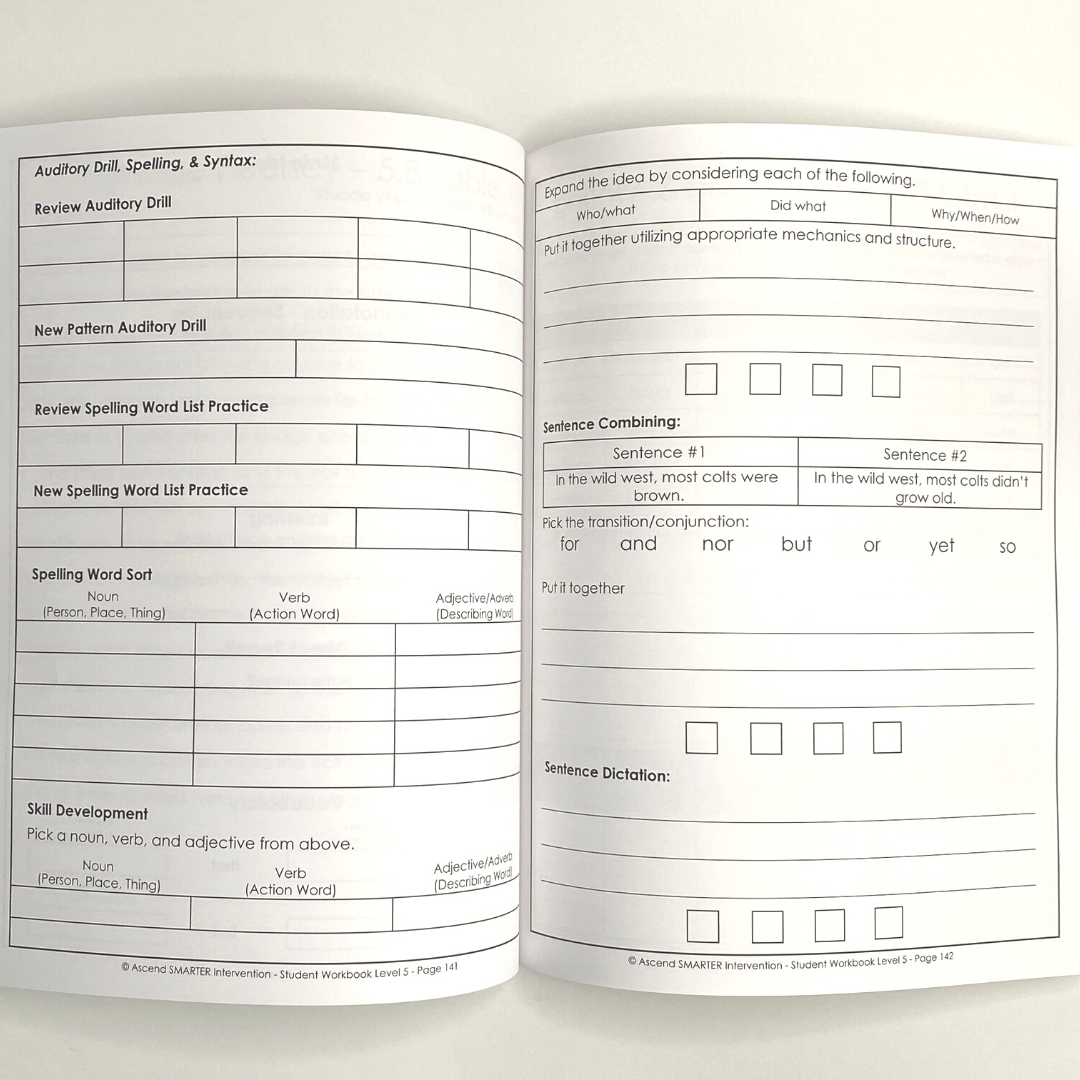
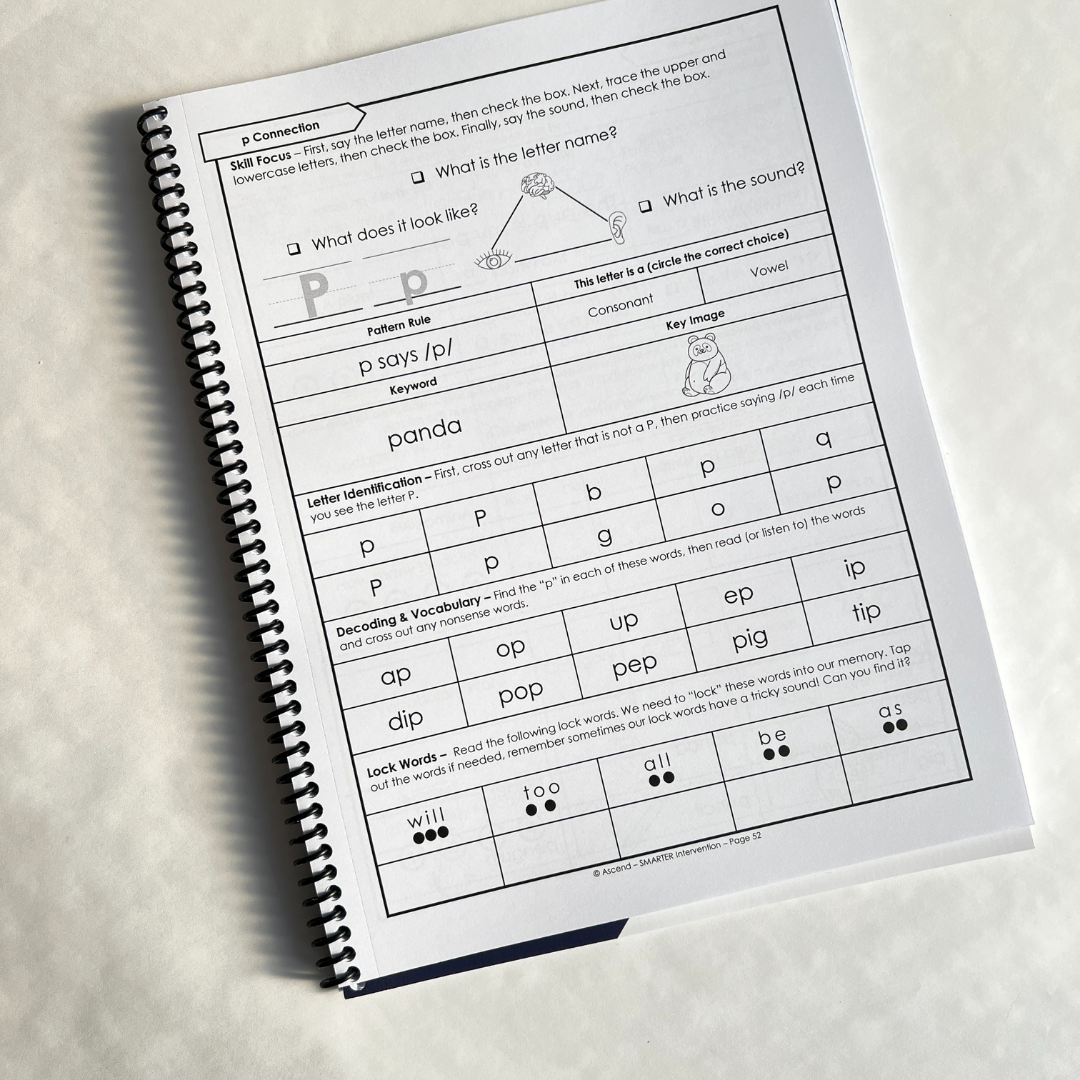
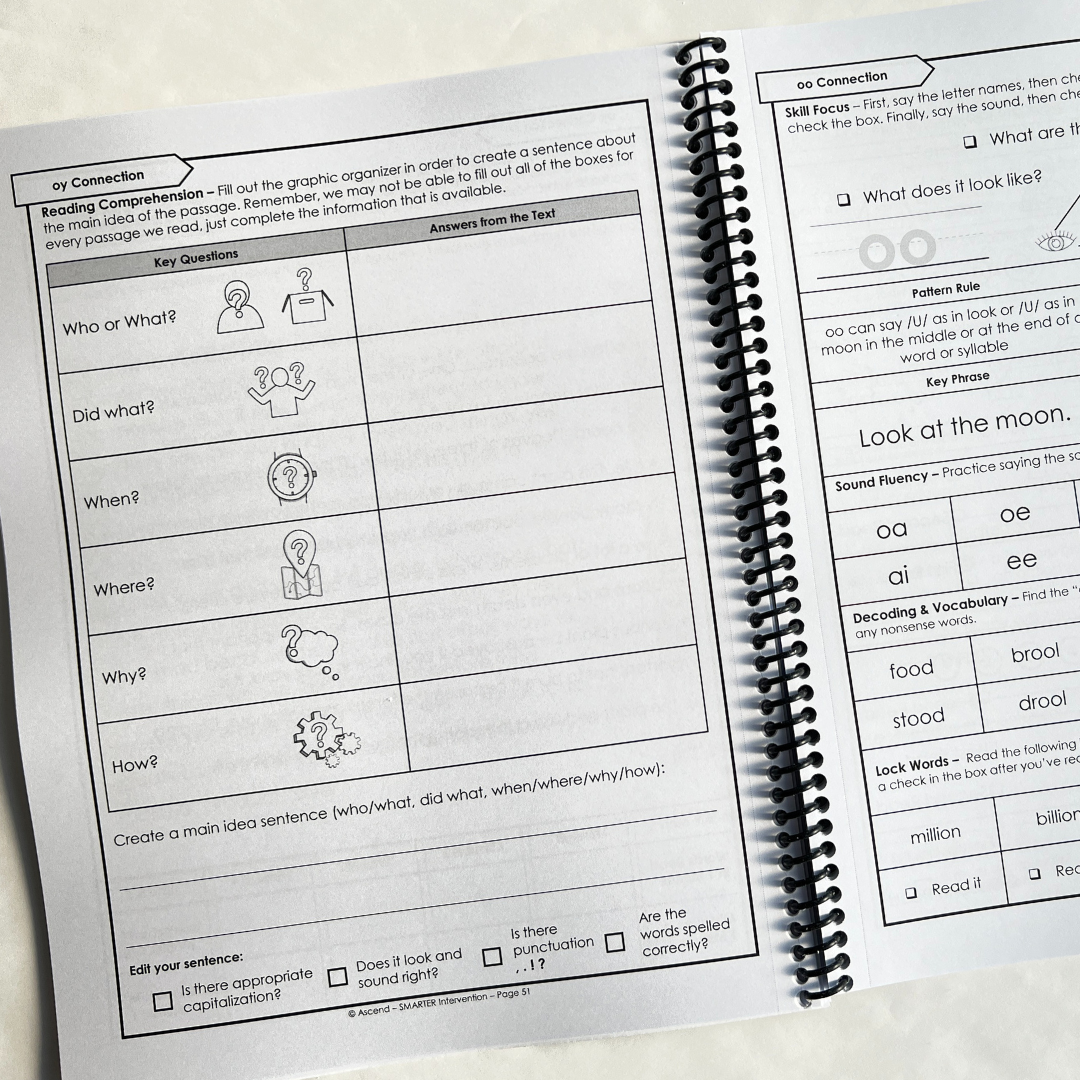
Student Workbook
Their student workbook contains all of the lesson material they have completed and all the material we will be covering through the course of their specific level of instruction. At this point, students keep their student workbooks in our classroom because otherwise, they had a tendency to forget it, spill their drink on it, squish it (until it was unrecognizable) in their backpack, or otherwise not have it when we needed it for instruction!
Home Connection Workbook
The home connection workbook has all the home practice activities they will use throughout their level. Our home connection workbooks are perforated so we have students tear out their homework each week and transport it home in their student folder. That said, we also have some students who work with us remotely, so for those students we have them keep their home connection workbook at home and let their caregiver know which pages we would like them to complete. Then we review their work at the beginning of our next lesson together.
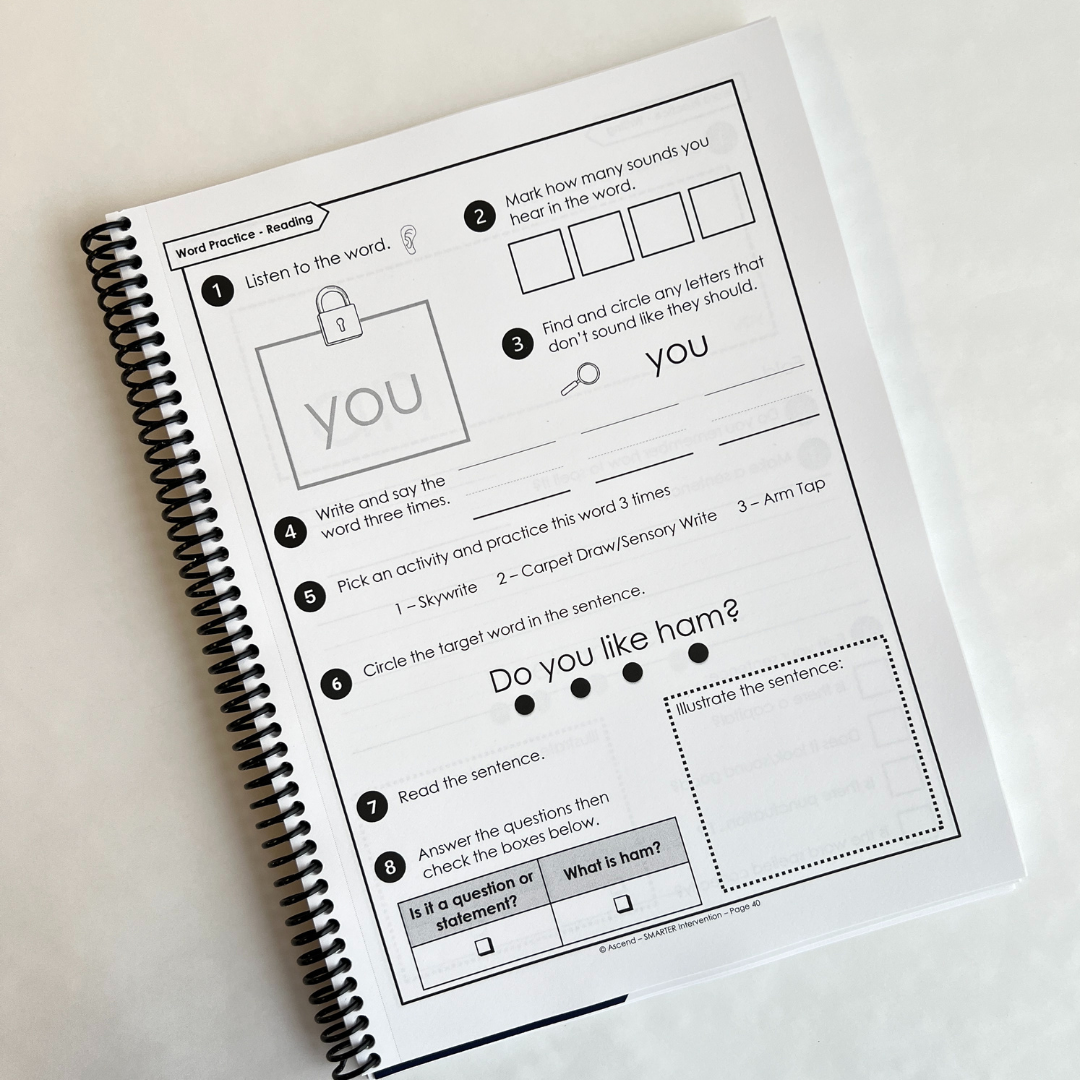
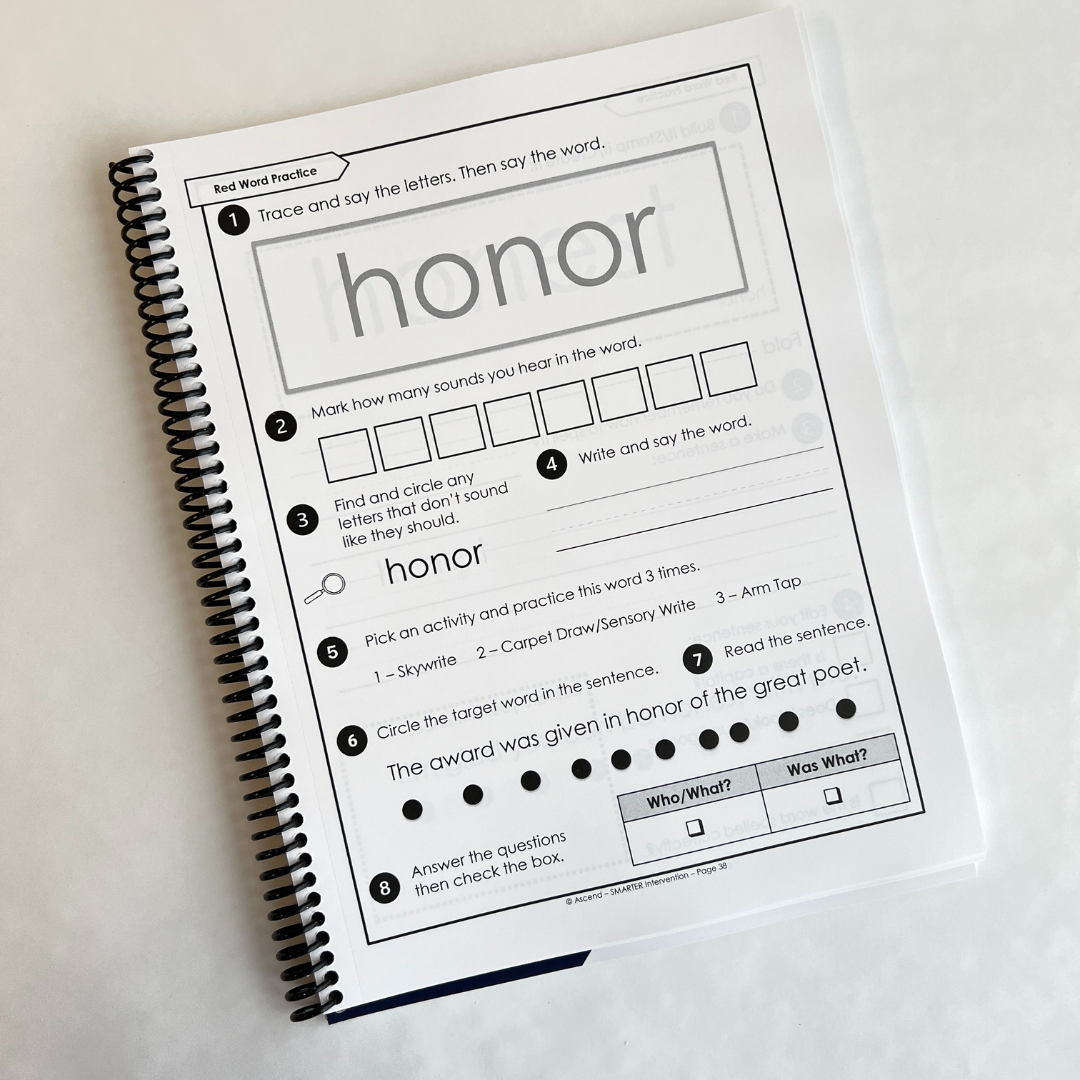
Lock Word Workbook
Our “Lock Words” are the words we want students to “lock into memory.” These lock words consist of high-frequency words, phonetically irregular words, and high-utility vocabulary words. You can learn more about how we teach these words >>>here<<< but essentially each student has a book that they work through at their own pace and practice/review. When we need students to practice independently, we often have them review their lock words workbook.
Student Folder
Finally, each student has their own student folder. Their student folder is the folder we send home with them with their home practice activities and/or any student-specific information. This might include things like:
Progress reports
Their favorite games to practice
A decodable text aligned with our phonics pattern
An informative text aligned with our comprehension content
A chapter book they’re working on as part of the application section of our lesson
Graphic organizers we’ve taught them to use
Basically, anything we want the student to be able to share between our intervention setting and their other settings (general education classroom, home, with tutors or other professionals).
Other Random Stuff
Some of our students also have other random things in their bins like specific pens or pencils they like to use, highlighters, fidgets, rewards, or stickers they’re working to earn.
That said, for the most part, they all pretty much look the same which is nice because it saves time and energy not having to think about where everything is. We just pull the bins for each student or student group and away we go!
That’s it! Super simple.
Let us know - How do you organize your student materials?